If half of your LED strip is not working, it can be frustrating and confusing. The most common cause is an issue with the power supply, like it being faulty or not strong enough for the length of the strip. Sometimes the problem comes from a damaged section or poor connection along the strip.
You’ll want to check the power source and make sure the strip isn’t bent or broken. Testing the voltage along the strip can help find where the problem starts. Understanding these simple checks can save you time and keep your lights glowing bright again.
Common Reasons Half of LED Strip Is Not Working

When half of your LED strip stops lighting, it is often due to issues with power, damage to the strip, or how it was set up. Understanding these common problems can help you find the cause and fix it faster.
Broken Circuit or Damaged Track
One common reason is a broken circuit or damage along the LED strip’s track. If the strip is cut, bent too sharply, or has a broken copper line inside, the electricity can’t flow past the damaged part. This usually causes the lights after the break to stop working.
Look closely for visible cracks, burns, or corrosion on the strip. You might see missing or broken solder points where wires connect. Even small damage can stop half the strip from lighting up.
You can test this by gently pressing around the broken section or using a multimeter to check for continuity. If the track is damaged, repairing it usually involves soldering a new connection or replacing that section.
Faulty Power Supply Connections
A weak or faulty power supply can cause half your LED strip to go dark. If the adapter or power source isn’t giving enough voltage or current, the strip may not get power evenly. This problem often happens if you use a power supply that is too small or damaged.
Also, check if the connections at the power supply and strip end are secure. Loose or dirty connectors can block power flow, causing only part of the strip to work.
Try plugging the strip into a different outlet or using a different power supply. If the problem stops, the original power source or wiring likely needs replacement.
Burnt Out LEDs
Sometimes, individual LEDs burn out, which can stop power from passing through the rest of the strip. LED strips often connect lights in series, so one bad LED can affect the rest after it.
Burnt-out LEDs might look dark or have a blackened area. You may also hear a faint smell or see small burn marks near the damaged light.
If you find burnt-out LEDs, you can sometimes cut out the bad section and reconnect the strip. Some strips also allow you to replace individual LEDs if you have the right tools.
Incorrect Installation
Incorrect installation is a frequent cause of half a strip not working. If you installed the strip backwards or put it in a place with sharp bends, water damage, or extreme heat, it can cause issues.
Pay attention to the strip’s arrow or mark that shows the direction of power flow. Connecting the strip backward stops current from reaching the full length.
Make sure the strip is not bent sharply or placed on rough surfaces that might damage it. Following the manufacturer’s instructions closely during installation helps avoid these problems.
Step-By-Step Solutions to Fix a Non-Working LED Strip Half

You can fix half of your LED strip not working by focusing on a few key areas. Start by inspecting the connections and joints. Then, check for power using a multimeter. Finally, replace any parts that are clearly damaged to restore full function.
Checking Solder Joints and Connections
Look closely at all solder joints and connectors on the LED strip. These are common points where the strip can fail. If you see broken or loose wires, gently re-solder the joints or reconnect parts.
Also, examine if the strip is bent or twisted near the non-working half. Excessive bending can break tiny circuit tracks and cause half the strip to stop working.
Make sure the connectors between strip sections are secure. Sometimes simply unplugging and reinserting the connectors solves the problem.
Testing With a Multimeter
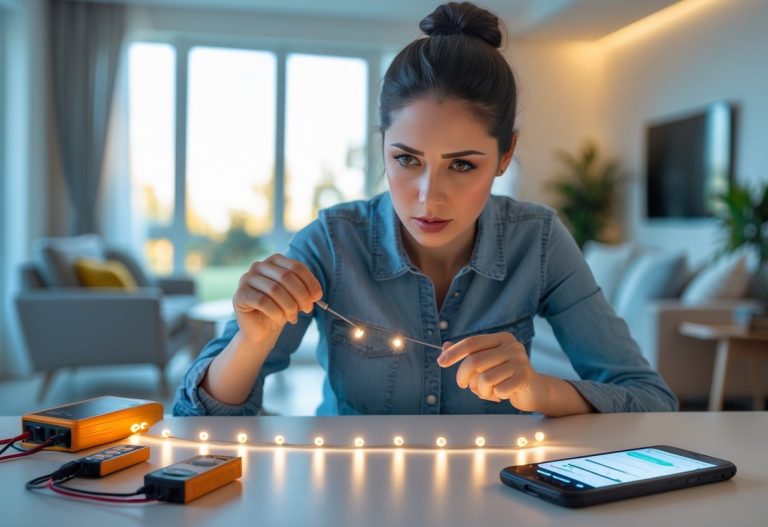
Use a multimeter to check for electrical continuity along the strip. Set your multimeter to the continuity or resistance setting.
Touch the probes to the power input and along the strip near the non-working half. If the multimeter shows no continuity, it means the circuit is broken.
Check the voltage at the power supply and where the strip connects to it. If voltage is missing or too low, the power source may cause the problem.
Replacing Damaged Sections
If you find cracks, missing LEDs, or broken circuit tracks, you might need to cut out and replace the damaged section.
Use scissors to cut along the marked lines on the strip. Replace the bad section with a new piece, using push connectors or by soldering the connecting points.
Be sure to power off the strip before working to avoid shocks or shorts. After replacement, test the strip to see if the full length lights up properly.


