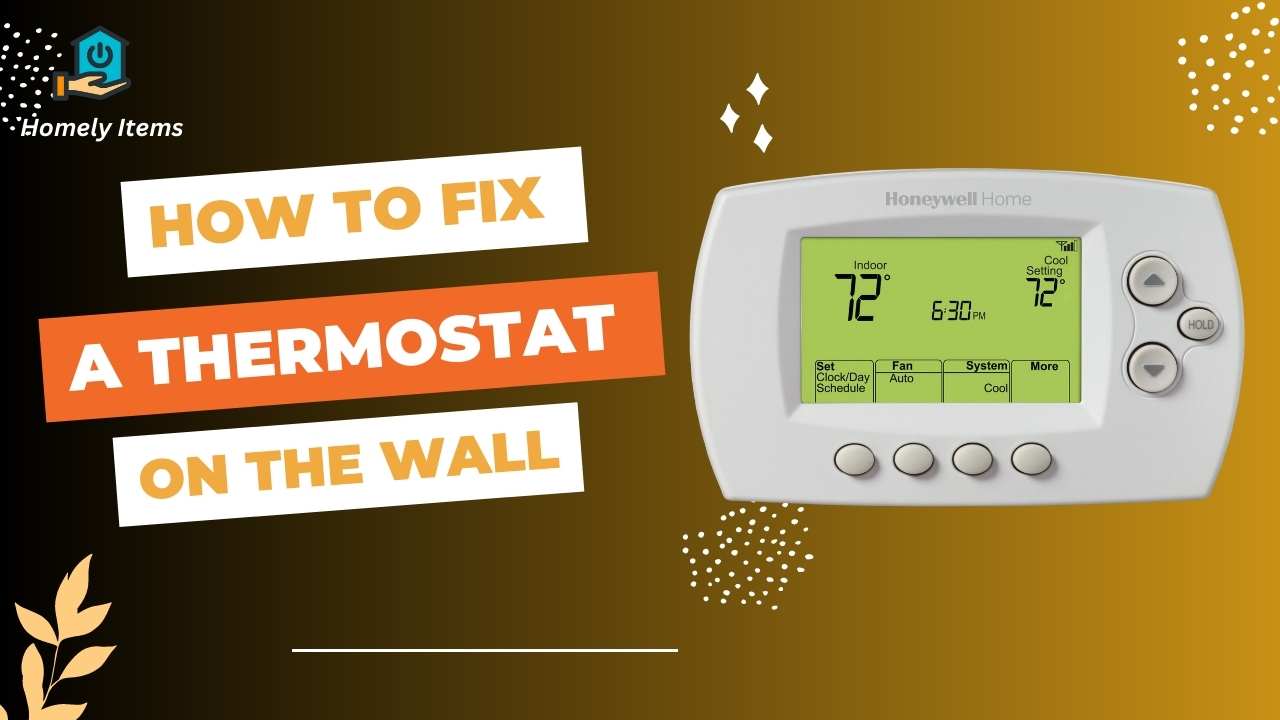
A comfortably controlled indoor climate is something we often take for granted, but when your thermostat starts acting up, it can quickly become a source of frustration and discomfort. Whether it’s a freezing winter day or a scorching summer afternoon, a malfunctioning thermostat can disrupt your home’s comfort and energy efficiency.
In this step-by-step guide, we will walk you through the process of fixing a thermostat on the wall. Before you panic or call in a professional, know that many thermostat issues can be resolved with a bit of troubleshooting and DIY repair. Not only will you save money by avoiding unnecessary service calls, but you’ll also gain a sense of accomplishment from fixing it yourself.
We’ll start by emphasizing the importance of safety when dealing with electrical components and provide a list of essential tools and materials you’ll need. We’ll then guide you through the process of assessing the issue, preparing the thermostat for repair, troubleshooting common problems, and properly reinstalling it. Finally, we’ll cover testing, maintenance tips, and provide additional resources to ensure your thermostat remains in optimal working condition.
So, if you’re tired of shivering in a cold room or sweating through a heatwave because of a wonky thermostat, grab your toolkit, and let’s learn how to fix it together. By the end of this guide, you’ll be well-equipped to tackle thermostat issues with confidence and get your indoor climate back to its comfortable best.
Table of Contents
Safety Precautions
When it comes to fixing a thermostat on the wall, safety should always be your top priority. Here are some crucial safety measures to remember:
- Turn Off the Power: Before you begin any work on your thermostat, make sure to turn off the power to your heating, ventilation, and air conditioning (HVAC) system at the circuit breaker. This will prevent any electrical accidents while you’re working.
- Wear Protective Gear: Use appropriate safety gear, including gloves and safety glasses, to protect yourself from any potential hazards.
- Keep Moisture and Water Away: Keep moisture and water away from electrical components. Ensure that your hands are dry when working with the thermostat.
- Label Wires: If you’re disconnecting wires, label them to avoid confusion during reinstallation. If necessary, take a picture or draw a diagram for reference.
- Stay Informed: Familiarize yourself with the wiring and components of your thermostat. If you’re unsure about any aspect, consult the thermostat’s manual or seek professional advice.
- Avoid Over-tightening: When securing wires or the thermostat itself, be careful not to over-tighten screws or fasteners, as this can damage components.
- Keep Pets and Children Away: To avoid mishaps, make sure that pets and children are kept out of the work area.
- Test Your Work: After completing the repair, test the thermostat to ensure it’s functioning correctly before restoring power to your HVAC system.
By adhering to these safety precautions, you’ll minimize the risks associated with fixing a thermostat on the wall and ensure a safe and successful repair process.
Tools and Materials
Before you embark on fixing your thermostat on the wall, gather the following essential tools and materials:
Tools
- Screwdriver Set: Both flathead and Phillips screwdrivers may be needed to open the thermostat cover and access wiring.
- Needle-Nose Pliers: Useful for securely attaching and detaching wires.
- Wire Stripper/Cutter: If you need to replace or reattach wires, this tool will come in handy.
- Voltage Tester: To confirm that the power is off before you start working with wires.
- Masking Tape and Pen: For labeling wires to avoid confusion during reinstallation.
Materials
- Replacement Batteries: If your thermostat uses batteries, have new ones on hand in case they need replacing.
- Cleaning Supplies: Soft brush or canned air to remove dust and debris from components.
- Replacement Parts: If you suspect a specific component is faulty (e.g., a temperature sensor), have replacement parts ready.
By having these tools and materials ready, you’ll be well-prepared to troubleshoot and repair your thermostat efficiently.
Assess the Issue
Before you begin fixing your thermostat, it’s crucial to identify the problem. Here’s how to assess the issue:
- Observe the Display: Check if the thermostat display is blank or showing an error message. This can provide initial clues about the problem.
- Temperature Discrepancies: If the room temperature displayed on the thermostat doesn’t match the actual room temperature, there may be a calibration issue.
- Check for Loose Wires: Inspect the wiring behind the thermostat. Loose or disconnected wires are a common issue that can cause malfunctions.
- Listen for Unusual Noises: Unusual clicking or buzzing sounds coming from the thermostat might indicate a problem with its internal components.
- Review the Manual: Consult the thermostat’s manual for troubleshooting tips and error code explanations.
- Consider Recent Changes: Think about any recent changes to your HVAC system or thermostat settings, as this could help pinpoint the issue.
By carefully assessing the problem, you’ll have a better understanding of what might be wrong with your thermostat, which will guide you in the troubleshooting and repair process.
Preparation
Before diving into thermostat repair, take these important preparation steps:
- Turn Off HVAC System: Ensure the HVAC system is completely turned off at the circuit breaker to prevent electrical accidents.
- Remove Thermostat Cover: Gently remove the cover of your thermostat to access its wiring and components.
- Inspect Wiring: Examine the wiring for any loose or disconnected connections. Take note of the wire colors and their positions for later reference.
Taking these preparation steps sets the stage for a safe and effective thermostat repair process.
Troubleshooting and Repairs
Now that you’ve assessed the issue and prepared your thermostat for repair, let’s dive into troubleshooting common thermostat problems and how to fix them:
1. Loose or Disconnected Wires
- Carefully reattach any loose wires to their designated terminals. Use your pliers to secure them if necessary.
2. Dead Batteries
- If your thermostat is powered by batteries, swap them out for new ones. Ensure they are inserted correctly according to the manufacturer’s instructions.
3. Dust and Dirt Buildup
- Gently clean the thermostat’s interior and components with a soft brush or canned air to remove dust and debris that may be affecting its functionality.
4. Calibration Problems
- If your thermostat consistently displays an incorrect temperature, you may need to recalibrate it. Refer to the thermostat’s manual for instructions on how to do this.
5. Temperature Sensor Issues
- If the thermostat’s temperature sensor is faulty, it may need replacement. Refer to the manual for sensor replacement instructions or consider seeking professional help.
6. Error Codes
- Pay attention to any error codes displayed on the thermostat. Consult the manual or the manufacturer’s website for explanations and troubleshooting steps.
7. Software Updates
- Some thermostats can benefit from software updates. Check the manufacturer’s website or contact their customer support for guidance on updating your thermostat’s software.
When troubleshooting, keep in mind to be methodical and patient. If you’re unsure about any step or the problem persists after troubleshooting, it’s advisable to seek professional assistance to avoid further complications.
Reinstallation
After troubleshooting and repairing your thermostat, it’s essential to reinstall it correctly to ensure proper functioning:
- Reconnect Wires: Carefully attach the wires to their designated terminals, ensuring they are secure and correctly placed according to your labels or documentation.
- Secure Thermostat to Wall: Align the thermostat back onto its wall mount and fasten it securely with screws or clips, depending on your thermostat model.
- Replace Thermostat Cover: Snap or screw the thermostat cover back into place, ensuring it fits snugly.
- Restore Power: Turn the power back on at the circuit breaker to reactivate your HVAC system.
By following these steps, you’ll complete the reinstallation process and have your thermostat back in its proper place, ready to regulate your home’s temperature effectively.
Testing
Once you’ve reinstalled your thermostat, it’s crucial to test it to ensure it’s working correctly:
- Set Desired Temperature: Adjust the thermostat to your desired temperature setting.
- Observe HVAC System: Listen for your HVAC system to kick in and start regulating the temperature.
- Monitor Temperature: Keep an eye on the thermostat’s display to ensure it accurately reflects the room temperature.
- Wait for Adjustments: Give your HVAC system some time to make temperature adjustments. The time required may vary depending on your system and the temperature differential.
- Check Consistency: Make sure your HVAC system maintains the desired temperature consistently. If it doesn’t, reevaluate the thermostat’s settings and connections.
By testing your thermostat, you can confirm that your repairs were successful and that your HVAC system is functioning correctly. If you encounter any issues during testing, revisit the troubleshooting and repair steps or consult a professional for further assistance.
Maintenance Tips
To keep your thermostat and HVAC system in good working condition, consider these maintenance tips:
- Regular Cleaning: Periodically clean the thermostat’s interior to remove dust and debris that can affect its accuracy.
- Battery Replacement: If your thermostat uses batteries, change them at least once a year, or as recommended by the manufacturer.
- Calibration Check: Verify the thermostat’s temperature accuracy by comparing it to a reliable thermometer. Recalibrate if necessary.
- Check Wiring: Inspect thermostat wiring for any signs of wear or corrosion. Address any issues promptly.
- Software Updates: If your thermostat is connected to a smart home system, check for and install software updates as needed.
- Professional Maintenance: Consider scheduling annual HVAC system maintenance by a professional technician to ensure optimal performance.
By implementing these maintenance practices, you can extend the lifespan of your thermostat and HVAC system while maintaining a comfortable and energy-efficient home environment.
Also Read: How to Bypass the Wait on a Honeywell Thermostat?
Final Thoughts
Fixing a thermostat on the wall might seem like a daunting task, but with the right knowledge and tools, it’s a DIY project that can save you money and frustration. We’ve covered the essential steps in this guide, from safety precautions to troubleshooting common issues and performing necessary repairs. By following these steps, you can regain control of your indoor climate and enjoy the comfort your thermostat provides.
Remember that safety should always be a priority when working with electrical components. Turning off the power, wearing protective gear, and taking precautions can prevent accidents and ensure a smooth repair process.
In conclusion, a malfunctioning thermostat doesn’t have to lead to discomfort or hefty repair bills. With the guidance provided in this guide, you have the skills to assess, troubleshoot, and fix many thermostat issues on your own. However, if you ever feel uncertain or the problem persists, don’t hesitate to seek professional assistance. Your home’s comfort and energy efficiency depend on a well-functioning thermostat, so take the initiative to maintain and repair it when needed.
By taking control of your thermostat’s health, you’re not only saving money but also gaining valuable knowledge about your home’s heating and cooling systems. We hope this guide has empowered you to tackle thermostat issues with confidence and enjoy a consistently comfortable living space.