A wireless doorbell is an integral part of any modern home, providing both security and convenience. It’s that trusty device that alerts you to visitors at your doorstep, whether it’s the friendly neighbor stopping by for a chat or a package delivery. However, like all electronic devices, wireless doorbells can encounter issues, and one of the most common problems people face is when their doorbell mysteriously stops working after they’ve diligently changed the batteries.
If you’re reading this, chances are you’ve found yourself in that frustrating situation, and you’re wondering why your wireless doorbell seems to have lost its voice. Don’t worry; you’re not alone. Many homeowners have experienced this puzzling predicament. Fortunately, we’ve got your back. In this blog post, we will walk you through a step-by-step troubleshooting guide to help you identify the root cause of your wireless doorbell’s silence and get it ringing again.
Before you consider spending money on a new doorbell or calling in a professional, let’s explore the common issues and easy fixes that can bring your doorbell back to life. So, let’s dive into the world of wireless doorbell troubleshooting and restore the convenience and security it brings to your home.
Table of Contents
Understanding Your Wireless Doorbell:
Before diving into troubleshooting, it’s essential to grasp the basics of your wireless doorbell system. Here’s a quick overview:
- Types of Wireless Doorbells: Wireless doorbells come in various types, including radio-frequency (RF) and Wi-Fi-enabled models. RF doorbells use radio waves to transmit signals, while Wi-Fi doorbells connect to your home’s network, allowing remote access via smartphones.
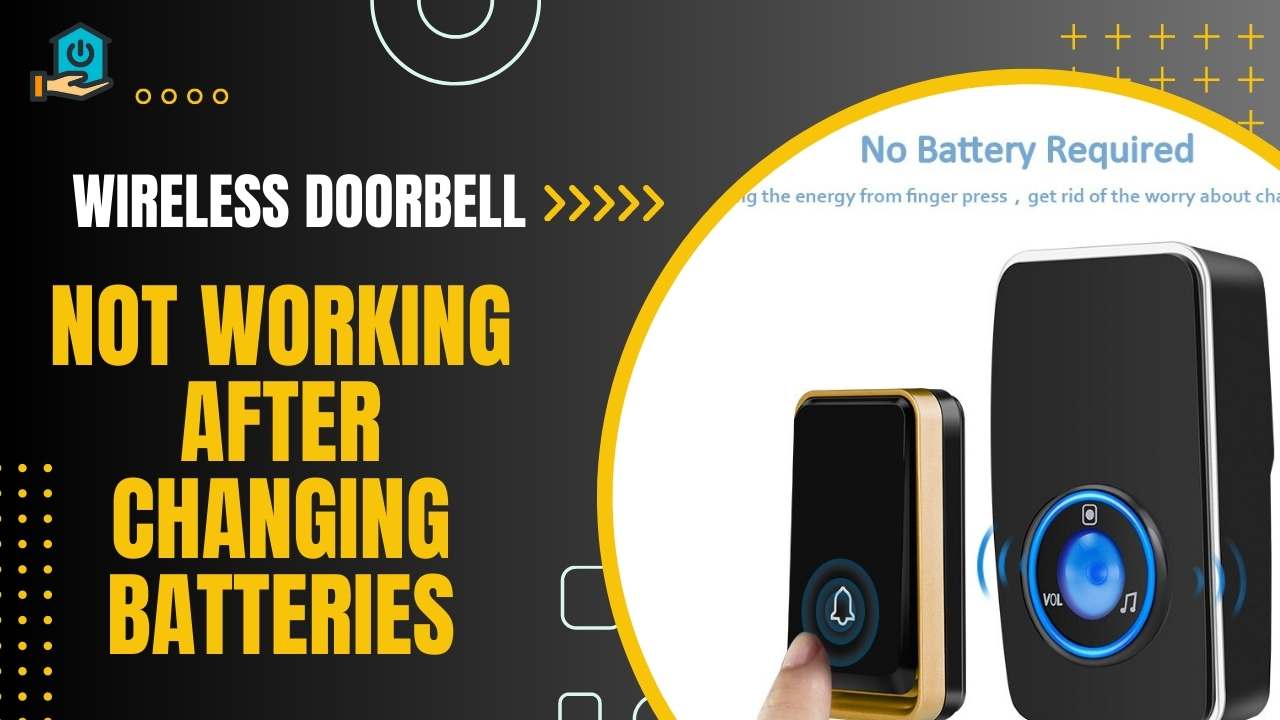
- Components: A typical wireless doorbell system comprises two main components: the doorbell button and the chime unit. The button is usually placed outside your front door, while the chime unit is inside your home.
- Battery Types: Wireless doorbells often use different battery types, such as standard alkaline batteries, lithium batteries, or rechargeable batteries. Understanding the type your doorbell requires is crucial for troubleshooting.
Having this basic understanding will be valuable as we explore the steps to diagnose and resolve the issue of your wireless doorbell not working after changing batteries.
Step 1: Verify Battery Installation
The first and often simplest step in troubleshooting a wireless doorbell that’s not working after changing the batteries is to ensure the batteries are correctly installed. Here’s what to do:
- Battery Type and Size: Double-check that you’ve used the correct type and size of batteries recommended for your specific doorbell model. If you’re unsure, consult the user handbook.
- Battery Orientation: Inspect the battery compartment to make sure you’ve inserted the batteries with the correct polarity (+ and -). Most doorbells have markings or diagrams to guide you.
- Battery Charge: Even new batteries can sometimes be defective or discharged. Confirm that the batteries you’ve installed are fully charged. You can test this by using a battery tester or replacing them with fresh batteries.
Proper battery installation is the foundation of a working wireless doorbell. By addressing these basic factors, you can eliminate any potential issues arising from incorrect battery installation and move on to further troubleshooting if needed.
Step 2: Check the Battery Contacts
Sometimes, the issue with your wireless doorbell not working after a battery change can be related to poor electrical connections at the battery contacts. Here’s how to inspect and address this potential problem:
- Inspect for Corrosion or Dirt: Carefully open the battery compartment of both the doorbell button and the chime unit. Examine the battery contacts for any signs of corrosion, dirt, or residue. Corrosion may appear as a greenish or whitish substance on the metal contacts.
- Clean the Contacts: If you find corrosion or dirt, use a clean, dry cloth or a small brush to gently remove it from the battery contacts. You can also use a cotton swab dipped in a mixture of baking soda and water to clean stubborn corrosion. Before continuing, make sure the contacts are totally dry.
- Reinsert the Batteries Securely: Once the contacts are clean and dry, reinsert the batteries into their respective compartments, making sure they are snugly and securely in place. Verify that you have maintained the correct polarity.
By cleaning the battery contacts and ensuring proper battery placement, you can enhance the electrical connection within your wireless doorbell system. This step can often resolve issues caused by poor contact, allowing your doorbell to function correctly. If the issue still exists, move on to the following troubleshooting step.
Step 3: Test the Doorbell Button
If your wireless doorbell is still not working after verifying the battery installation and cleaning the battery contacts, it’s time to focus on the doorbell button. Here’s how to test and troubleshoot this critical component:
- Verify Button Functionality: Start by pressing the doorbell button outside your home. Listen for any clicking or buzzing sounds that indicate the button is functioning correctly. If you don’t hear any sound or feel any feedback when pressing the button, it may be faulty.
- Check for Battery Replacement: Some wireless doorbell buttons have their batteries, often smaller ones like coin cell batteries (e.g., CR2032). If your doorbell button has its battery, replace it with a fresh one. For battery replacement, adhere to the manufacturer’s recommendations.
- Inspect for Debris: Examine the doorbell button for any dirt, debris, or obstructions around or beneath the button. These can prevent the button from making contact with its internal circuitry. Gently clean the button if necessary.
- Test with Known Working Chime Unit: If possible, borrow a chime unit from a working wireless doorbell system or use a compatible one if you have a spare. Sync this chime unit with your doorbell button and see if it works. This will help determine if the issue lies with the button or the chime unit.
- Re-Sync the Doorbell Button: If your wireless doorbell system allows for re-syncing the button and chime unit, follow the manufacturer’s instructions for re-pairing or re-syncing them. This process may vary depending on the doorbell model.
Testing the doorbell button is crucial because it’s the primary component responsible for signaling the chime unit to ring. If the button is malfunctioning, addressing this issue should get your wireless doorbell back in working order. If the problem persists, move on to the next step to troubleshoot the chime unit.
Step 4: Test the Chime Unit
If your wireless doorbell button is functioning correctly, but the chime unit is still not producing any sound, it’s time to focus on troubleshooting the chime unit itself. Follow these steps to diagnose and resolve issues with the chime unit:
- Confirm Power Supply: First, ensure that the chime unit is receiving power. Check if it’s properly plugged into an electrical outlet or if it has fresh batteries, depending on the type of chime unit you have.
- Check Chime Settings: Review the chime unit’s settings. It’s possible that the chime tone or volume settings were inadvertently changed. Consult the user manual for instructions on adjusting these settings and select your preferred tone and volume.
- Try a Reset: Some chime units have a reset button or procedure. Refer to your user manual to perform a factory reset. This can often resolve issues caused by software glitches or settings changes.
- Test with a Different Doorbell Button: If you have access to another doorbell button (from a working system or a compatible spare), try syncing it with your chime unit to see if it produces sound. This can help determine if the issue is with the chime unit itself.
- Check for Obstructions: Examine the area around the chime unit. Ensure there are no objects or obstacles that could muffle the sound or prevent it from reaching your ears.
- Relocate the Chime Unit: If you’ve recently moved the chime unit to a different location, consider returning it to its original position. Sometimes, changes in placement can affect signal reception.
By thoroughly testing and troubleshooting the chime unit, you can identify the source of the problem. If the chime unit begins to produce sound after these steps, your wireless doorbell system should be back in working order. However, if the issue persists, proceed to the next step for additional troubleshooting.
Step 5: Re-Sync or Re-Pair the Devices
If you’ve determined that both the doorbell button and chime unit are functional but your wireless doorbell is still not working, it might be due to a loss of synchronization between the two components. Re-syncing or re-pairing them can often resolve this issue. Follow these steps:
- Refer to the User Manual: Locate your wireless doorbell’s user manual. It should contain specific instructions for re-syncing or re-pairing the doorbell button and chime unit. If you don’t have the manual, you can often find it online by searching for your doorbell model.
- Reset the Doorbell Button: Typically, you’ll need to press and hold a specific button or follow a sequence of button presses on the doorbell button to initiate the re-syncing process. For the proper method, consult the instructions.
- Reset the Chime Unit: Likewise, the chime unit may require a reset or re-pairing action. This could involve pressing a button on the chime unit or following a specific sequence of actions. Again, for instructions, go to the user handbook.
- Confirm Successful Sync: After following the re-sync or re-pairing instructions, test your wireless doorbell to ensure it’s working correctly. Press the doorbell button, and you should hear the chime unit ring.
- Test Multiple Times: It’s a good practice to test the doorbell multiple times to make sure the synchronization is stable. Sometimes, it may take a few attempts for the devices to properly connect.
Re-syncing or re-pairing the devices is a common solution for wireless doorbells that have lost communication with each other. This step re-establishes the connection and can often resolve the issue of the doorbell not working after changing batteries. If the issue still exists, move on to the following troubleshooting step.
Step 6: Check for Interference
Interference from various sources can disrupt the signals between your wireless doorbell’s button and chime unit, causing it to stop working or become unreliable. Here’s how to identify and address potential interference issues:
- Identify Sources of Interference:
- Wi-Fi Networks: Nearby Wi-Fi routers and networks can sometimes interfere with the signal between your wireless doorbell components, especially if they operate on the same frequency band.
- Cordless Phones: Cordless phones operating on similar frequencies may cause interference.
- Other Wireless Devices: Gadgets like baby monitors, garage door openers, and remote-controlled toys could disrupt your wireless doorbell’s signal.
- Thick Walls or Obstacles: Thick walls or metal objects between the button and chime unit can weaken the signal.
- Relocate the Chime Unit or Button: Try moving the chime unit and doorbell button to different locations within your home. Sometimes, a simple repositioning can minimize interference and improve signal reception.
- Change the Wireless Frequency: Some wireless doorbell models offer the option to switch to a different frequency channel. Refer to your user manual to see if this feature is available and how to change the frequency.
- Upgrade to a Higher Frequency Doorbell: If interference remains a persistent problem and your current doorbell operates on a crowded frequency band, consider upgrading to a higher frequency model. These are less susceptible to interference.
- Adjust Wi-Fi Channel: If Wi-Fi interference is a concern, log into your Wi-Fi router’s settings and change the channel it operates on. Experiment with different channels to find the one that works best with your wireless doorbell.
- Use Signal Extenders: If your doorbell is located far from the chime unit, consider using a signal extender or booster to improve signal strength.
- Eliminate Obstacles: If thick walls or obstacles are affecting signal strength, try to eliminate or reduce these barriers by repositioning the devices or using signal-boosting accessories.
Identifying and addressing interference issues can significantly enhance the reliability of your wireless doorbell system. By reducing signal disruption, you can ensure that your doorbell responds consistently to visitors and deliveries. If interference isn’t the culprit, proceed to the next step for potential software-related troubleshooting.
Step 7: Firmware or Software Update
In some cases, your wireless doorbell’s firmware or software may need an update to resolve issues. Here’s how to check and perform updates if necessary:
- Check for Available Updates:
- Visit the manufacturer’s website or refer to the user manual to find information about firmware or software updates for your specific doorbell model.
- Some doorbells may have mobile apps that facilitate updates. If applicable, check the app store for updates.
- Download the Update:
- If an update is available, follow the provided instructions to download the latest firmware or software version. Ensure that you download the correct update for your specific model.
- Follow Installation Instructions:
- Install the update as per the manufacturer’s instructions. This may involve connecting your doorbell to a computer or using a mobile app.
- Ensure that the update process is completed without interruptions, and follow any on-screen prompts.
- Test the Doorbell:
- After the update is successfully installed, test your wireless doorbell to confirm that it’s now functioning correctly.
- Press the doorbell button to see if the chime unit responds as expected.
- Monitor for Improvement:
- Keep an eye on your doorbell’s performance in the days following the update to ensure that the issue has been resolved.
Firmware and software updates are essential for maintaining the optimal performance of your wireless doorbell. These updates often include bug fixes and improvements that can address issues like the doorbell not working after changing batteries. If the problem persists even after updating, proceed to the next troubleshooting step, which involves contacting customer support.
Step 8: Contact Customer Support
If you’ve followed all the previous troubleshooting steps and your wireless doorbell is still not working after changing batteries, it’s time to reach out to the manufacturer’s customer support. If the issue still exists, move on to the following troubleshooting step.
- Gather Necessary Information:
- Before contacting customer support, gather important information about your wireless doorbell system, including the model number, purchase date, and any warranty information you may have.
- Visit the Manufacturer’s Website:
- Start by visiting the manufacturer’s official website. Look for a “Contact Us” or “Support” section. Many manufacturers provide troubleshooting guides and FAQs that might offer solutions to common problems.
- Use Online Support Resources:
- Search the manufacturer’s support database for your specific issue. Often, you’ll find detailed solutions and step-by-step guides that can help.
- Initiate Contact:
- If you can’t find a solution online, reach out to customer support. Look for their contact information on the website, which might include phone numbers, email addresses, or a live chat option.
- Provide Detailed Information:
- When you contact customer support, be prepared to provide detailed information about the issue you’re experiencing. Describe the problem, the troubleshooting steps you’ve already taken, and any error messages you’ve encountered.
- Follow Their Guidance:
- Customer support representatives will likely guide you through additional troubleshooting steps or request information like serial numbers or proof of purchase. Cooperate with their instructions.
- Warranty Considerations:
- If your wireless doorbell is still under warranty, inquire about warranty coverage and potential repair or replacement options.
- Document Your Interaction:
- Keep records of your communication with customer support, including names, dates, and reference numbers for any support tickets or case numbers.
- Be Patient and Polite:
- Remember that customer support representatives are there to assist you. Being patient and polite can go a long way in resolving your issue efficiently.
- Escalate If Necessary:
- If you’re not getting the help you need, consider asking to speak with a supervisor or manager. Keep in mind that a polite request is more likely to yield positive results.
Contacting customer support is often the last resort when all other troubleshooting steps have failed. They can provide specialized assistance and, if needed, guide you through the process of returning or replacing your wireless doorbell if it’s found to be faulty.
By following these steps, you should be well-equipped to engage with customer support effectively and work towards a resolution for your wireless doorbell issue.
Also Read: Why is your Honeywell Doorbell Not Working?
Final Thoughts
In conclusion, when your wireless doorbell stops working after a battery change, it can be a frustrating experience. However, with the right troubleshooting steps, you can often identify and resolve the issue. We’ve covered everything from verifying battery installation to addressing interference and seeking firmware updates.
If problems persist, don’t hesitate to contact customer support. A well-maintained wireless doorbell ensures the security and convenience of your home, so don’t give up until you’ve explored all avenues to restore its functionality.