Last updated on May 15th, 2024 at 05:58 pm
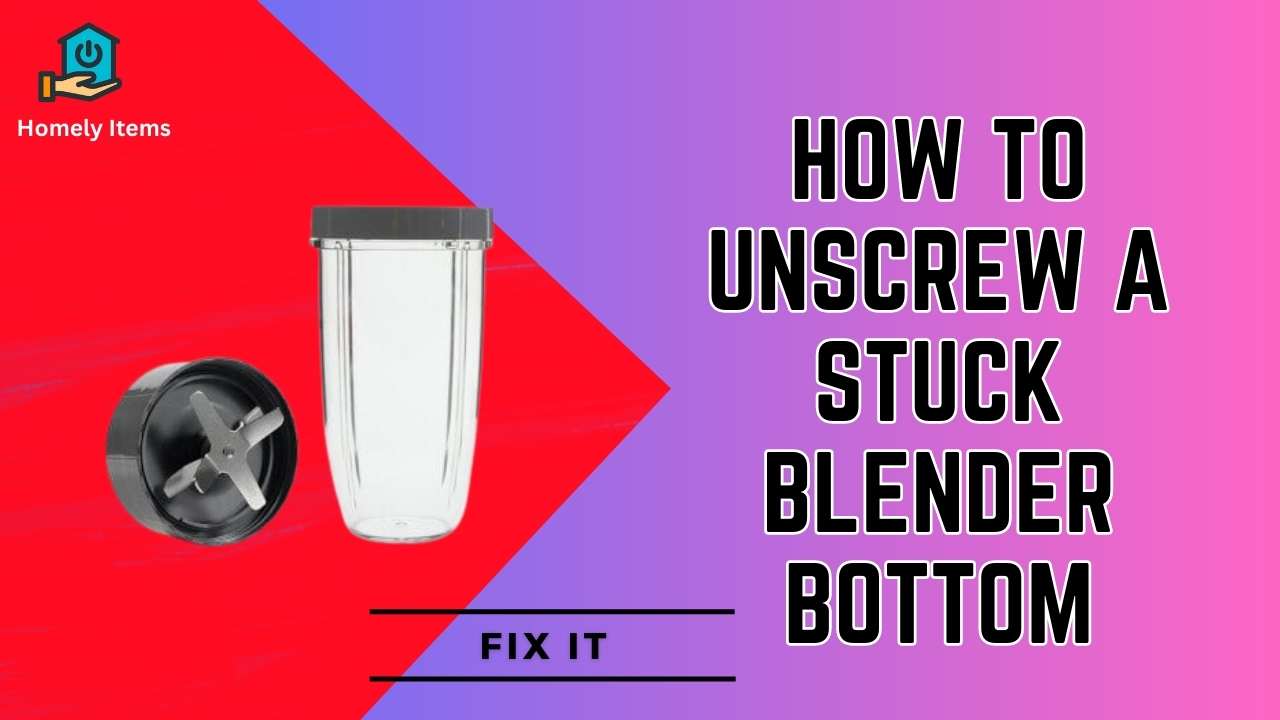
Blenders are essential kitchen appliances that help us create delicious smoothies, soups, and sauces with ease. However, there’s nothing more frustrating than encountering a stuck blender bottom when you’re in the middle of preparing your favorite recipe. The inability to unscrew the blender bottom can hinder your cooking process and leave you feeling exasperated. But fear not! In this step-by-step guide, we will walk you through the process of unscrewing a stuck blender bottom, helping you overcome this common kitchen dilemma.
With a little patience and the right techniques, you’ll be back to blending in no time. So, let’s dive in and reclaim the smooth operation of your blender!
Table of contents
#1 Assess the Situation
Before diving into the unscrewing process, it’s crucial to assess the situation and understand the condition of your stuck blender bottom. Taking a few moments to evaluate the problem will ensure you approach it correctly and avoid any potential damage.
Ensure Safety
- Before doing anything, unplug the blender from the power source to eliminate the risk of electrical accidents.
- Make sure the blender is turned off and the blades are not rotating.
Inspect for Visible Damage
- Take a close look at the blender bottom to check for any visible damage or signs of wear and tear.
- Look for dents, cracks, or misalignment of the blender bottom or the jar attachment.
- If you notice significant damage, it is recommended to seek professional assistance or contact the blender manufacturer.
Check for Obstructions
- Examine the area around the blender bottom and the threads for any debris, food particles, or other obstructions.
- Remove any visible obstructions using a clean cloth or a soft brush.
- Be cautious not to push any debris further into the threads, as it can make the unscrewing process more challenging.
Test the Resistance
- Gently try to rotate the blender bottom counterclockwise to assess the level of resistance.
- If it feels extremely tight or refuses to budge, you’ll need to follow the subsequent steps to loosen it.
By assessing the situation and identifying any visible damage or obstructions, you’ll have a clearer understanding of the problem at hand. This evaluation will guide you in selecting the appropriate methods to unscrew the stuck blender bottom effectively and prevent any unintended consequences.
#2 Preparing for Unscrewing
Before you begin the process of unscrewing a stuck blender bottom, it’s important to gather the necessary tools and take certain precautions. By being prepared, you’ll increase your chances of success while ensuring your safety. Follow these steps to prepare for unscrewing:
Gather the Necessary Tools
- Rubber glove: Wearing a rubber glove provides a better grip and helps protect your hand during the unscrewing process.
- Towel: Place a towel underneath the blender to catch any spills or drips that may occur during the unscrewing process.
- Pliers: Select a pair of adjustable pliers or tongue-and-groove pliers with a wide jaw. These will help you gain leverage on the blender bottom.
- Penetrating oil: Purchase a quality penetrating oil or lubricant specifically designed to loosen rusted or stuck components. This will aid in reducing friction and making the unscrewing process easier.
Wear Protective Gear
- Put on the rubber glove on the hand you’ll be using to grip the blender bottom. This will enhance your grip and protect your hand from any potential injuries.
Secure the Blender
- Place the blender on a stable surface to ensure it doesn’t tip or wobble during the unscrewing process.
- Position the towel underneath the blender to catch any drips or spills that may occur.
By gathering the necessary tools and taking precautions such as wearing a rubber glove and placing a towel underneath the blender, you’ll be well-prepared to tackle the task of unscrewing a stuck blender bottom. These preparations will help ensure your safety and create an environment conducive to successful unscrewing.
#3 Applying Heat and Lubrication
To loosen a stuck blender bottom, applying heat and lubrication can be effective in reducing friction and expanding the metal parts. Follow these steps to apply heat and lubrication:
Heat the Blender Bottom
-
Warm Water Method:
- Fill a basin or sink with warm water. Ensure the water is not too hot to avoid damaging the blender or your hands.
- Submerge the lower part of the blender, including the bottom, in the warm water.
- Let it sit for 5-10 minutes to allow the metal to expand slightly.
- The heat will help loosen the stuck blender bottom by expanding the metal parts, making unscrewing easier.
-
Hairdryer Method:
- Set a hairdryer to medium or high heat.
- Direct the warm airflow toward the blender bottom, focusing on the area where the blender bottom and the jar attachment meet.
- Move the hairdryer around to evenly distribute the heat and avoid overheating a specific spot.
- Continue heating the area for 2-3 minutes, or until the metal feels warm to the touch.
Apply Penetrating Oil
- Choose a high-quality penetrating oil or lubricant designed for loosening rusted or stuck components.
- Apply a generous amount of the penetrating oil around the area where the blender bottom and the jar attachment meet.
- Allow the oil to penetrate the threads by letting it sit for a few minutes. This will help lubricate the parts and reduce friction during unscrewing.
Unscrewing the Blender Bottom
- Put on the rubber glove on the hand you’ll be using to grip the blender bottom.
- Firmly grip the blender bottom with the rubber glove to enhance your grip.
- Use pliers to gain additional leverage if necessary.
- With a steady and controlled motion, attempt to rotate the blender bottom counterclockwise.
- If the blender bottom starts to loosen, continue unscrewing it by hand until fully removed.
By applying heat and lubrication, you’ll create favorable conditions for loosening the stuck blender bottom. The expansion caused by heat and the reduced friction from the lubricant will make unscrewing easier. Remember to exercise caution and maintain a firm grip while performing the unscrewing motion.
#4 Using Pliers to Loosen
If the stuck blender bottom proves resistant to unscrewing by hand, using pliers can provide the necessary leverage to loosen it. Follow these steps to effectively use pliers in the unscrewing process:
Select the Right Pliers
- Choose a pair of adjustable pliers or tongue-and-groove pliers with a wide jaw. These will provide a better grip and leverage.
- Ensure the pliers are clean and free from any debris or rust that could interfere with their effectiveness.
Protect the Blender Bottom
- Wrap the jaws of the pliers with a layer of duct tape or use a rubber band to prevent scratching or damaging the blender bottom.
Grip the Blender Bottom
- Put on the rubber glove on the hand you’ll be using to grip the blender bottom.
- With one hand, hold the blender jar firmly to stabilize it.
- With the other hand, position the pliers’ jaws securely around the lower part of the blender bottom, ensuring a firm grip.
Apply Leverage
- Use controlled and gentle force to apply clockwise pressure to the pliers.
- Be cautious not to exert excessive force, as it may damage the blender or cause injury.
- Slowly and steadily rotate the pliers counterclockwise to loosen the stuck blender bottom.
- If the blender bottom starts to loosen, continue unscrewing it by hand until fully removed.
Use a Towel or Rubber Band for Better Grip
- If the pliers struggle to grip the blender bottom securely, wrap a towel around the bottom or use a rubber band for better grip and traction.
- This added layer will help enhance your grip on the stuck blender bottom and make it easier to unscrew.
By using pliers to apply additional leverage, you can overcome the resistance of a stubborn blender bottom. Remember to be cautious, maintain a steady grip, and exert controlled force to avoid any damage or injury. The use of a towel or rubber band can further aid in improving your grip and making the unscrewing process smoother.
#5 Troubleshooting Techniques
Sometimes, despite your best efforts, unscrewing a stuck blender bottom can still present challenges. In such cases, employing troubleshooting techniques can help overcome the obstacles. Consider the following troubleshooting techniques:
Gently Tap the Bottom
- If the blender bottom remains stuck even after applying heat, lubrication, and using pliers, try gently tapping the bottom.
- Using a rubber mallet or a wooden spoon, tap the side of the blender bottom in a counterclockwise direction.
- The tapping action can help loosen any residual friction or dislodge any debris that might be causing the sticking.
Use a Rubber Band for Better Grip
- If the pliers or your hand have difficulty gripping the blender bottom securely, wrap a rubber band around the bottom for added grip.
- The rubber band will provide extra traction and allow you to exert more force while turning the blender bottom.
Seek Professional Assistance
- If all attempts fail to loosen the stuck blender bottom, consider seeking professional assistance.
- Contact the blender manufacturer’s customer support or take the blender to a qualified technician who can help disassemble the blender safely and resolve the issue.
Exercise Patience and Caution
- It’s essential to remain patient and avoid rushing the process, as applying excessive force or using improper techniques can lead to damage.
- Take breaks if needed, allowing the penetrating oil or heat to further penetrate and loosen the stuck blender bottom.
- Exercise caution at all times to prevent accidents or injuries.
Remember, troubleshooting techniques are intended to assist in challenging situations. If the stuck blender bottom persists despite your efforts, it might be best to consult professionals who have the expertise to handle the problem effectively. Prioritizing safety and being patient throughout the process will help ensure a successful outcome.
#6 Reassembling the Blender
Once you have successfully unscrewed the stuck blender bottom, it’s time to reassemble the blender and ensure everything is properly aligned and secure. Follow these steps to reassemble the blender:
Clean and Inspect
- Before reassembling, clean the blender bottom and the jar attachment to remove any residue or debris.
- Examine both components for any indications of wear or damage. If you notice any significant issues, consider replacing the damaged components.
Align the Blender Bottom
- Position the blender bottom in alignment with the jar attachment.
- Ensure the threads on both the blender bottom and the jar attachment are properly aligned.
Hand-Tighten
- Using your hand, start screwing the blender bottom onto the jar attachment in a clockwise direction.
- Rotate it gently until it feels snug and secure.
Use Pliers (Optional)
- If needed, you can use pliers to provide a final tightening.
- Remember to wrap the jaws of the pliers with duct tape or use a rubber band to protect the blender bottom.
Check for Proper Alignment and Tightness
- Once the blender bottom is tightened, check for proper alignment with the blender body and jar attachment.
- Ensure that all parts are securely fastened without any wobbling or misalignment.
Test the Blender
- Plug the blender back into the power source and give it a quick test run.
- Turn it on briefly to ensure that the motor and blades are functioning smoothly.
By following these steps, you can safely and effectively reassemble your blender after successfully unscrewing the stuck blender bottom. Paying attention to alignment, tightness, and cleanliness will help ensure optimal performance and prevent any future issues. Enjoy your rejuvenated blender and the seamless blending experience it provides!
#7 Preventing Future Stuck Blender Bottoms
Dealing with a stuck blender bottom can be frustrating, but there are preventive measures you can take to minimize the likelihood of it happening again. By implementing these tips, you can maintain your blender in good working condition and prevent future stuck blender bottoms:
Regular Cleaning
- Clean your blender thoroughly after each use.
- Disassemble removable parts, such as the blender bottom and jar attachment, and wash them with warm, soapy water.
- Pay attention to the threads and remove any residue or food particles that may accumulate.
Dry Thoroughly
- After cleaning, ensure that all parts, including the blender bottom and jar attachment, are completely dry before reassembling.
- Moisture can contribute to corrosion and make parts more prone to sticking.
Lubrication
- Periodically apply a food-grade lubricant or silicone grease to the threads of the blender bottom and jar attachment.
- This will help reduce friction and make future unscrewing easier.
Avoid Over-Tightening
- When reassembling the blender, tighten the blender bottom securely but avoid excessive force.
- Over-tightening can make it more difficult to unscrew in the future.
Store Properly
- Store your blender in a clean, dry area when not in use.
- Avoid storing it in damp or humid environments that can promote corrosion.
Handle with Care
- Be gentle when attaching and detaching the blender bottom.
- Avoid any sudden or forceful movements that could cause misalignment or damage.
Periodic Maintenance
- Regularly inspect your blender for any signs of wear, damage, or loose parts.
- If you notice any issues, address them promptly to prevent further complications.
By implementing these preventive measures, you can significantly reduce the chances of encountering a stuck blender bottom in the future. Regular cleaning, proper storage, and periodic maintenance will keep your blender in optimal condition, ensuring smooth operation and hassle-frdee blending experiences for years to come.
Also Read: Ninja Blender Cup Stuck in Base?
Conclusion
Dealing with a stuck blender bottom can be a frustrating experience, but armed with the right knowledge and techniques, you can overcome this common kitchen dilemma. In this step-by-step guide, we explored the process of unscrewing a stuck blender bottom and provided you with essential tips to make the task easier.
We began by assessing the situation, inspecting for visible damage, and checking for obstructions. Then, we prepared for unscrewing by gathering the necessary tools, wearing protective gear, and securing the blender. Applying heat and lubrication proved to be effective in reducing friction, and we outlined methods such as using warm water and a hairdryer, as well as applying penetrating oil.
If the blender bottom remained stuck, we discussed the use of pliers to provide additional leverage and grip. Troubleshooting techniques, including tapping the bottom and using a rubber band for better grip, were also explored. Finally, we covered the process of reassembling the blender, ensuring proper alignment and tightness.
To prevent future stuck blender bottoms, we emphasized the importance of regular cleaning, thorough drying, lubrication, proper storage, and gentle handling. Additionally, periodic maintenance and inspections were recommended to address any issues promptly.
By following these steps and adopting preventive measures, you can enjoy a hassle-free blending experience and keep your blender in excellent working condition.
Remember, patience and caution are essential throughout the process. If you encounter persistent difficulties or significant damage, seeking professional assistance from the blender manufacturer or a qualified technician is recommended.
Now, armed with this guide, it’s time to put your knowledge into practice. Unscrew that stubborn blender bottom, create delicious recipes, and blend with ease once again!