Last updated on May 15th, 2024 at 06:01 pm
Keeping your floors clean and sanitized is important for maintaining a healthy and safe living environment. One of the most effective ways to achieve this is by using a Shark steam mop. A Shark steam mop is a powerful cleaning tool that uses high-temperature steam to clean and disinfect your floors without the need for harsh chemicals.
However, over time, the nozzle of your Shark steam mop can become clogged with dirt, debris, and mineral deposits. This can cause the steam to become weak or stop altogether, reducing the effectiveness of your cleaning. That’s why it’s important to regularly clean your Shark steam mop nozzle.
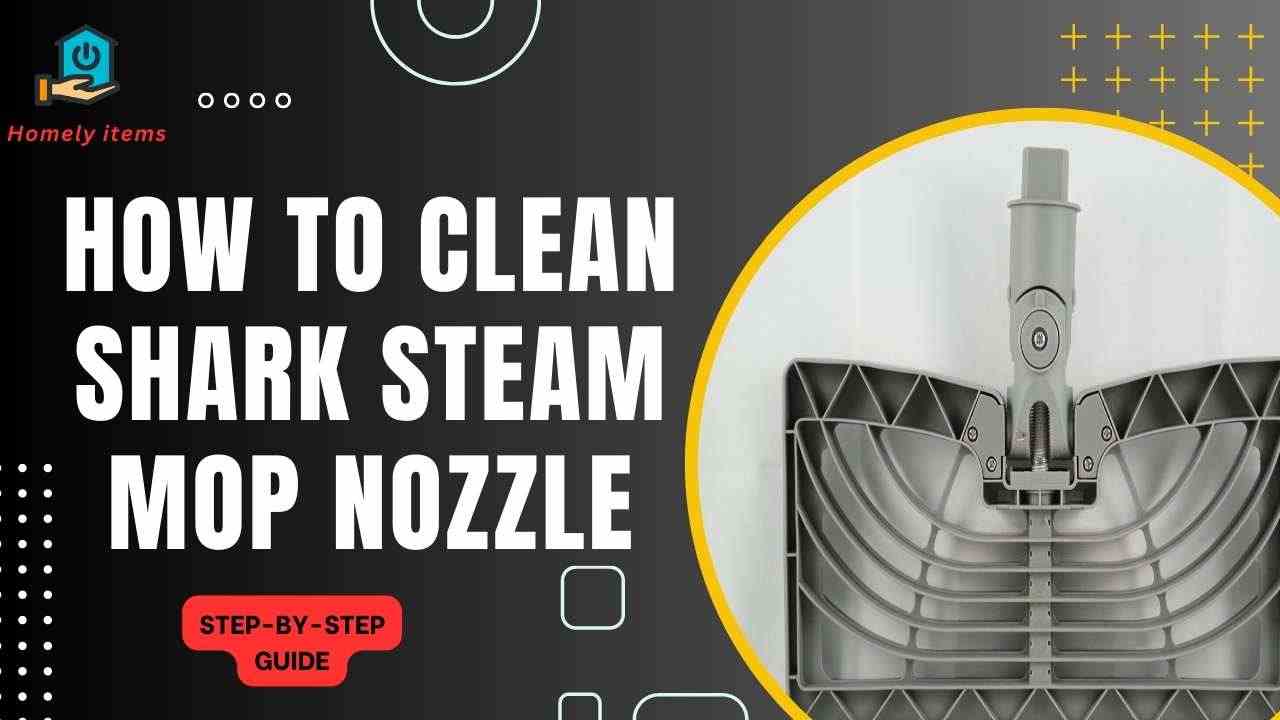
In this post, we’ll provide you with a step-by-step guide on how to clean your Shark steam mop nozzle, so you can keep your floors sparkling clean and germ-free. We’ll walk you through each step of the process, from safely unplugging the mop to testing it after cleaning the nozzle. By the end of this post, you’ll have all the knowledge you need to keep your Shark steam mop working like new. So, let’s get started!
Table of contents
Step 1: Unplug the Steam Mop
Before you begin cleaning the nozzle of your Shark steam mop, it’s important to take some safety precautions. The first step is to unplug the mop from the electrical outlet. This will ensure that the mop doesn’t accidentally turn on while you’re cleaning the nozzle, which could result in burns or other injuries.
To unplug the Shark steam mop, simply locate the power cord and gently pull it out of the electrical outlet. Make sure to avoid pulling the cord too hard or yanking it, as this can damage the cord or the electrical outlet.
Once you have unplugged the Shark steam mop, you may want to wait a few minutes to allow the mop to cool down before you start cleaning the nozzle. This will help to prevent any accidental burns from hot steam or water that may be present in the mop.
In addition to unplugging the Shark steam mop, you should also take care to keep the cord and the electrical outlet dry throughout the cleaning process. This will help to prevent any electrical shocks or other accidents.
By following these simple steps, you can ensure that you’re taking the necessary safety precautions before you start cleaning the nozzle of your Shark steam mop. So, go ahead and unplug the mop, and let’s move on to the next step!
Step 2: Disassemble the Nozzle
Now that you have unplugged the Shark steam mop and allowed it to cool down, it’s time to disassemble the nozzle. Disassembling the nozzle is an important step in cleaning it thoroughly, as it allows you to access all the parts of the nozzle and remove any buildup or debris that may be present.
To disassemble the Shark steam mop nozzle, start by locating the release button or lever that is used to remove the nozzle from the mop. This is typically located on the body of the mop near the nozzle attachment.
Press the release button or lever and gently pull the nozzle away from the body of the mop. You may need to use a bit of force, but be careful not to pull too hard or you could damage the nozzle or the mop.
Once you have removed the nozzle from the mop, take a closer look at the parts that make up the nozzle. You should see several components, including the nozzle cap, the nozzle body, and the steam jets.
Carefully disassemble each part of the nozzle, taking care to keep track of where each piece goes. Depending on the model of your Shark steam mop, you may also need to remove any filters or other attachments that are present in the nozzle.
By disassembling the Shark steam mop nozzle, you’ll be able to access all the parts of the nozzle and clean them thoroughly. This will help to ensure that your mop is working at peak performance and that you’re getting the most out of your cleaning efforts.
In the next step, we’ll show you how to clean each part of the Shark steam mop nozzle. So, let’s get started!
Step 3: Clean the Shark Steam Mop Nozzle
Now that you’ve disassembled the Shark steam mop nozzle, it’s time to clean each part thoroughly. Cleaning the nozzle is important to remove any buildup or debris that may be clogging the steam jets and reducing the effectiveness of your cleaning.
To clean the Shark steam mop nozzle, start by filling a bowl or sink with warm water. You can also add a few drops of dish soap or white vinegar to the water for added cleaning power.
Next, place each part of the nozzle in the water and allow it to soak for a few minutes. This will help to loosen any dirt or debris that may be stuck to the parts.
Using a soft-bristled brush or a toothbrush, gently scrub each part of the nozzle to remove any buildup or debris. Be sure to pay special attention to the steam jets, which can become clogged with mineral deposits or other materials.
Once you have scrubbed each part of the nozzle thoroughly, rinse them off with clean water to remove any soap or vinegar residue. You may want to use a towel or cloth to dry each part of the nozzle before reassembling the nozzle.
Before reassembling the Shark steam mop nozzle, it’s important to check each part for any damage or wear. If any parts are damaged or worn, they should be replaced before using the mop again.
Once you’ve checked each part of the nozzle and ensured that they are clean and in good condition, you can reassemble the nozzle and attach it back onto the Shark steam mop. Make sure to securely attach the nozzle to the mop to ensure that it’s working properly.
Step 4: Reassemble the Shark Steam Mop Nozzle
Now that you’ve cleaned each part of the Shark steam mop nozzle, it’s time to reassemble it and attach it back onto the mop. Reassembling the nozzle is an important step in ensuring that your mop is working at peak performance and that you’re getting the most out of your cleaning efforts.
To reassemble the Shark steam mop nozzle, start by placing the steam jets back into the nozzle body. Make sure that they are securely in place and facing the correct direction.
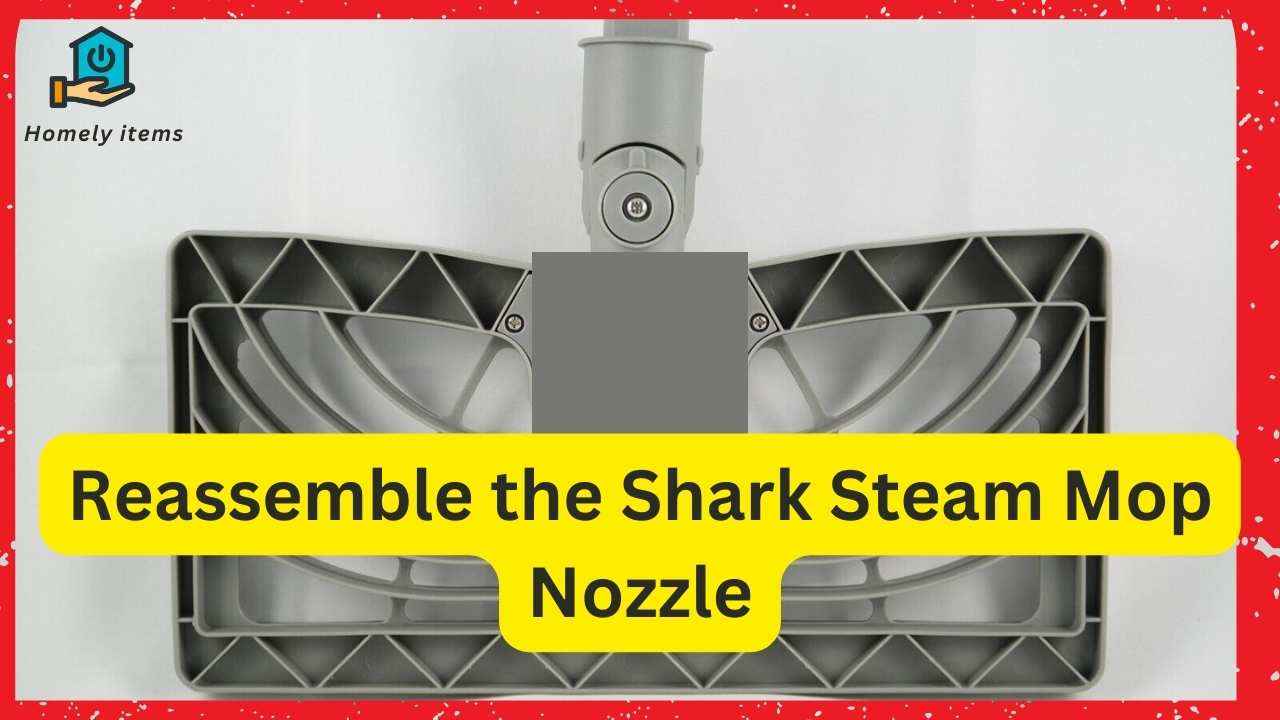
Next, place the nozzle cap onto the nozzle body, making sure that it’s aligned correctly and securely in place. Depending on the model of your Shark steam mop, you may also need to replace any filters or other attachments that were present in the nozzle.
Once you have all the parts in place, gently slide the nozzle back onto the body of the Shark steam mop. Make sure that it’s securely in place and that you hear a click or snap to indicate that it’s properly attached.
Before using the Shark steam mop again, it’s important to ensure that the nozzle is working properly. Plug in the mop and turn it on, allowing it to heat up for a few minutes. Then, test the steam output by pressing the trigger or button on the handle of the mop. You should see a steady stream of steam coming out of the nozzle.
If the steam output seems weak or uneven, you may need to repeat the cleaning process or check for any damaged or worn parts in the nozzle. It’s important to address any issues with the nozzle before using the Shark steam mop again to ensure that it’s working properly.
Step 5: Test the Shark Steam Mop
After cleaning and reassembling the Shark steam mop nozzle, it’s important to test the mop to ensure that it’s working properly. Testing the mop will allow you to see if there are any issues with the steam output or any other components of the mop that may need to be addressed.
To test the Shark steam mop, plug it in and allow it to heat up for a few minutes. Once the mop is heated, press the trigger or button on the handle to release steam from the nozzle. Move the mop over a small section of your floor, and check that the steam is flowing evenly and effectively.
If the steam output seems weak or uneven, it’s possible that there is still debris or buildup in the nozzle that needs to be addressed. In this case, you may need to repeat the cleaning process or check for any damaged or worn parts in the nozzle.
If everything seems to be working properly, you can proceed with using the Shark steam mop to clean your floors. Just be sure to follow the manufacturer’s instructions for use and maintenance, including regular cleaning and maintenance of the nozzle and other components of the mop.
By testing the Shark steam mop after cleaning and reassembling the nozzle, you can ensure that your floors are getting properly cleaned and sanitized and that your mop is working at its best.
FAQs
Here are some frequently asked questions about Cleaning Shark Steam Mop Nozzle:
How often should I clean my Shark steam mop nozzle?
It is recommended that you clean your shark steam mop nozzle at least once a month to maintain its cleaning power.
Can I use any type of vinegar to clean my shark steam mop nozzle?
It is best to use distilled white vinegar, as other types of vinegar may contain impurities that can damage your mop.
Can I clean my shark steam mop nozzle in the dishwasher?
No, you should never put your shark steam mop nozzle in the dishwasher, as this can cause damage to the nozzle and reduce its effectiveness.
How do I know if my shark steam mop nozzle needs cleaning?
If your steam mop is not producing as much steam as it used to or is leaving streaks on your floors, it may be time to clean the nozzle.
Is it necessary to clean both the inside and outside of the shark steam mop nozzle?
Yes, it is important to clean both the inside and outside of the nozzle to ensure that it is free of debris and mineral buildup.
Also Read: Shark Steam and Scrub Not Spinning?
Conclusion
Cleaning the Shark steam mop nozzle is an essential part of maintaining the effectiveness and longevity of your mop. By following these simple steps, you can keep your Shark steam mop in good working order and ensure that your floors are getting properly cleaned and sanitized.
Remember to unplug the mop before cleaning the nozzle, and to disassemble and clean each part thoroughly. Reassemble the nozzle carefully, and test the mop to ensure that everything is working properly.
Regular cleaning and maintenance of your Shark steam mop nozzle will help to keep it working at peak performance for years to come, making it a valuable tool in your cleaning arsenal.