Blenders have become an indispensable kitchen appliance, allowing us to effortlessly create smoothies, soups, and other culinary delights. However, encountering a blender leaking black liquid can be concerning and leave us wondering what might be wrong. In this troubleshooting guide, we will explore the possible causes behind a blender leaking black liquid and provide you with step-by-step instructions to identify and resolve the issue.
Whether you’re a seasoned blender user or a novice, this guide will equip you with the knowledge to tackle this problem and get your blender back to its optimal functioning. So, let’s dive in and unravel the mystery of the black liquid leakage from your blender!
Table of Contents
Understanding the Problem
Blenders are designed to blend ingredients efficiently and without any leakage. However, when you notice black liquid leaking from your blender, it can be quite perplexing. To address the issue effectively, it’s important to understand the possible reasons behind this problem. Here are some common causes of a blender leaking black liquid:
- Buildup of food debris or residue: Over time, small food particles can accumulate in the blender’s components, such as the pitcher, blade assembly, or gasket. This buildup can result in a black, sludgy liquid leaking from the blender.
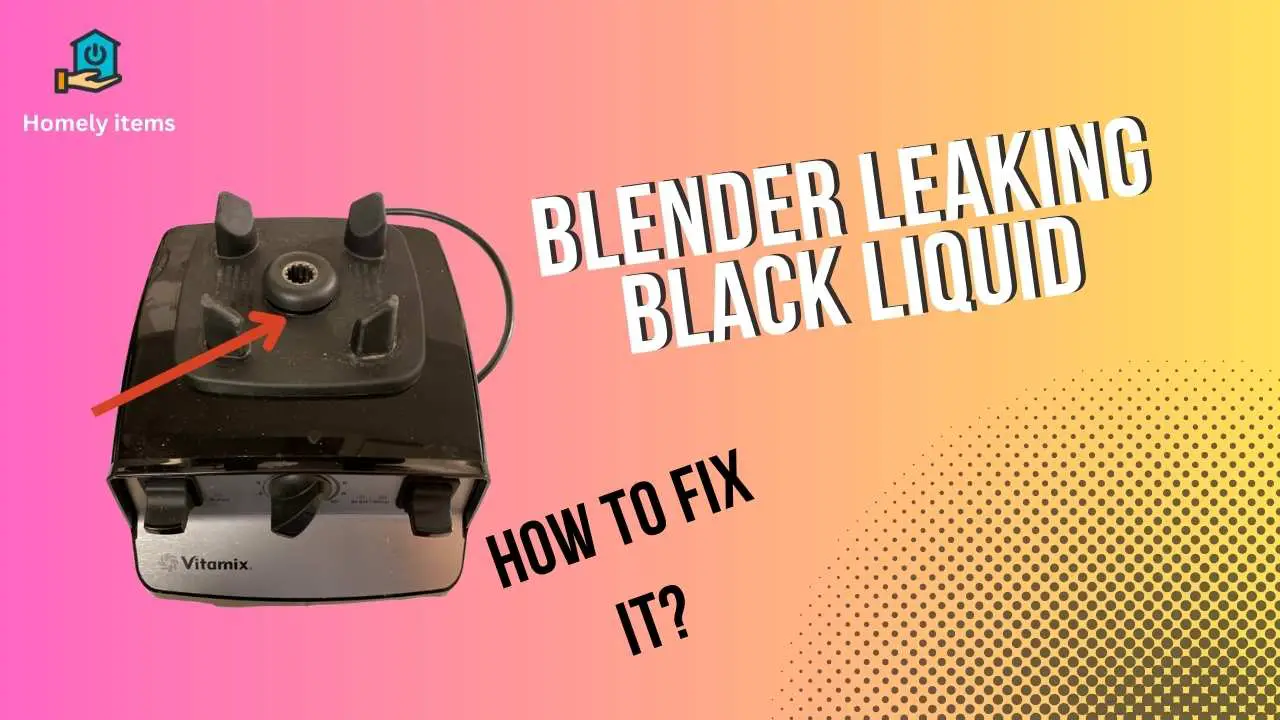
- Damaged gasket or seal: The gasket or seal plays a vital role in preventing liquid from escaping the blender. If the gasket is worn out, cracked, or improperly installed, it can lead to leaks, including the presence of black liquid.
- Worn-out or malfunctioning motor: The blender’s motor is responsible for powering the blades and creating the blending action. If the motor is worn out or malfunctioning, it may produce black liquid as a result of internal damage.
- Cracked or damaged pitcher or blade assembly: Physical damage to the blender’s pitcher or blade assembly can cause leaks. Cracks or chips in these components can lead to the escape of black liquid during blending.
- Other potential causes: In rare cases, there may be other underlying issues causing the black liquid leakage. These can include a malfunctioning electrical component, a faulty connection, or a manufacturing defect.
By understanding these possible causes, you can now proceed to troubleshoot and address the issue systematically. In the following sections, we will provide you with a step-by-step troubleshooting guide to help you identify and resolve the black liquid leakage from your blender.
Step-by-Step Troubleshooting Guide
Safety First
Before you begin troubleshooting your blender, it’s essential to prioritize your safety. Follow these safety precautions:
- Unplug the blender: Ensure that the blender is disconnected from the power source to avoid any electrical accidents.
- Power off: Make sure the blender is switched off and that the blades have come to a complete stop before proceeding with any inspection or cleaning.
Inspection and Cleaning
- Disassemble the blender:
- Remove the pitcher: Carefully detach the pitcher from the blender base, ensuring that it is empty.
- Remove the blade assembly: Unscrew or unlock the blade assembly from the pitcher. Pay attention to any gaskets or seals that may be present.
- Clean the components:
- Wash the pitcher: Use warm, soapy water to clean the pitcher thoroughly. Pay attention to any black residue or buildup, and scrub gently to remove it.
- Clean the blade assembly: Clean the blade assembly using a brush or sponge, making sure to remove any food debris or residue that may be causing the leakage.
- Inspect the gasket: Examine the gasket for any signs of wear, cracks, or damage. If you notice any issues, it may be necessary to replace the gasket.
Motor Examination
- Safety precautions:
- Keep the blender unplugged throughout this step to avoid any electrical hazards.
- Testing the motor:
- Without the pitcher and blade assembly, plug in the blender and turn it on briefly. Observe the motor’s operation for any signs of leaks or irregularities. If you notice black liquid or unusual noises, it could indicate a problem with the motor.
- If you suspect a faulty motor, it’s recommended to seek professional assistance or contact the blender manufacturer for further guidance.
Pitcher and Blade Assembly
- Visual inspection:
- Carefully inspect the pitcher and blade assembly for any visible cracks, chips, or damage. These physical defects can contribute to black liquid leakage.
- Replacing the pitcher or blade assembly:
- If you identify any cracks or damage, it may be necessary to replace the affected component. Refer to the blender’s user manual or contact the manufacturer to find the correct replacement parts.
- Follow the manufacturer’s instructions to safely replace the pitcher or blade assembly. Ensure proper alignment and secure attachment to prevent future leaks.
Preventative Measures and Maintenance Tips
In addition to troubleshooting the issue of a blender leaking black liquid, it’s crucial to implement preventative measures and regular maintenance to prevent future occurrences. Here are some helpful tips to keep your blender in optimal condition:
- Regular cleaning and maintenance:
- After each use, clean the blender thoroughly, including the pitcher, blade assembly, and gasket. Use warm, soapy water and a brush or sponge to remove any residue or buildup.
- Pay attention to hard-to-reach areas, such as the crevices around the blade assembly and the underside of the pitcher’s lip.
- Allow all components to dry completely before reassembling the blender.
- Proper assembly and tightening:
- Ensure that all parts are properly aligned and securely tightened before using the blender. This includes correctly placing the gasket and securely attaching the blade assembly to the pitcher.
- Improper assembly can lead to leaks and compromise the blender’s performance.
- Avoid overfilling:
- Follow the manufacturer’s guidelines and avoid exceeding the maximum fill line indicated on the pitcher. Overfilling can cause liquid to overflow during blending, leading to leaks.
- Blending hot liquids with caution:
- If you need to blend hot liquids, allow them to cool slightly before adding them to the blender. Blending extremely hot liquids can create pressure inside the pitcher, resulting in leakage.
- It’s recommended to remove the center cap or the small lid from the blender lid to allow steam to escape while blending hot liquids.
- Proper storage:
- Store the blender in a safe and dry place when it’s not in use. This protects it from potential damage and ensures that no foreign objects or substances enter the blender, causing leaks or blockages.
- Regular inspection:
- Periodically inspect the blender for any signs of wear, cracks, or damage to the pitcher, blade assembly, gasket, or other components. If you notice any issues, address them promptly by replacing the damaged parts.
- Follow the user manual:
- Always refer to the blender’s user manual for specific care and maintenance instructions provided by the manufacturer. This ensures that you’re following the recommended guidelines for your specific blender model.
By implementing these preventative measures and regularly maintaining your blender, you can minimize the risk of black liquid leakage and extend the lifespan of your appliance. Remember, proper care and attention will keep your blender performing at its best and provide you with many delicious culinary creations for years to come.
Also Read: How to Make Ice Cream with the Blender? Guidance.
Frequently Asked Questions (FAQs)
Why does a magic bullet leak?
The Magic Bullet, a kitchen appliance, may leak for several reasons, including improper assembly of the components, worn or damaged seals, overfilling the container, or excessive pressure buildup during operation. Careful handling and maintenance can help prevent leaks.
How do you remove fungus from a blender?
To remove fungus from a blender, follow these steps: Disassemble the blender completely. Wash all removable parts with warm soapy water. Mix equal amounts water and vinegar to form a solution. Soak the parts in the solution for a few hours. Scrub off any remaining fungus with a brush. Rinse thoroughly and dry before reassembling the blender.
How do you clean black mold out of a blender?
Cleaning black mold out of a blender requires thorough steps. Disassemble the blender and soak removable parts in a mixture of warm water and bleach or vinegar for several hours. Scrub off the mold with a brush, rinse well, and ensure all parts are completely dry before reassembling the blender.
Conclusion
Encountering a blender leaking black liquid can be a frustrating and concerning experience. However, with the troubleshooting guide and preventative measures outlined in this blog post, you now have the knowledge and tools to address the issue effectively.
By understanding the potential causes behind the black liquid leakage, such as food debris, damaged gaskets, worn-out motors, or cracked components, you can systematically inspect and clean your blender. Taking safety precautions and following step-by-step instructions, you can disassemble the blender, clean the components, examine the motor, and assess the pitcher and blade assembly for any damage or defects.
Additionally, implementing preventative measures and regular maintenance will help prevent future leaks. By cleaning the blender after each use, properly assembling and tightening the components, avoiding overfilling, using caution when blending hot liquids, and storing the blender correctly, you can maintain its optimal performance and minimize the risk of leakage.
Remember, always consult the user manual provided by the manufacturer for specific care instructions tailored to your blender model.
Now armed with this comprehensive troubleshooting guide and maintenance tips, you can confidently tackle the issue of a blender leaking black liquid and enjoy hassle-free blending experiences in your kitchen.
Feel free to share your experiences or additional tips in the comments section below to foster a community discussion and further assist others facing similar challenges. Happy blending!